Step 1
Begin by understanding the concept of hubs. Hubs are modules constructed from your workflows and resources. These hubs will be used on your kiosk for users to complete specific tasks.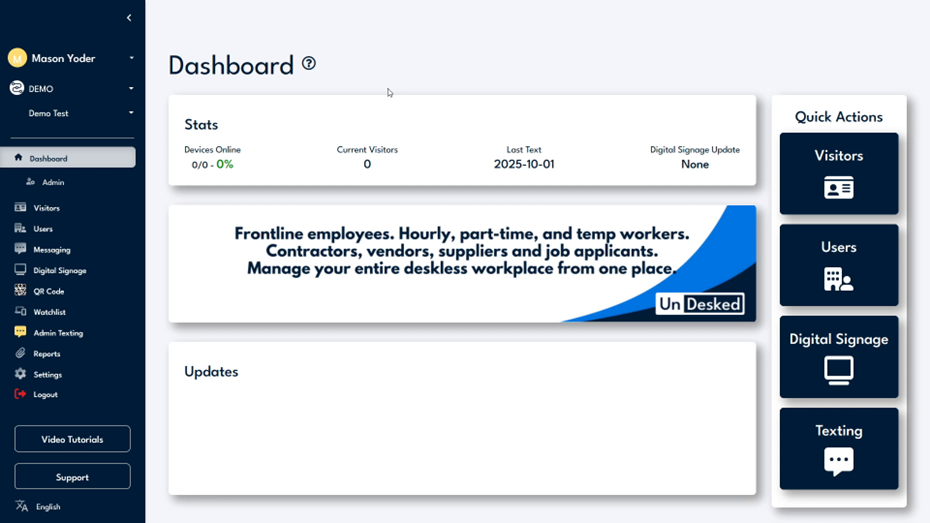
Step 2
To initiate, select the 'Users' option followed by 'Hubs.' Here, you will find a list of all your active hubs. If you wish to create a new hub, click on the 'Create New' button and enter a desired name for the hub. This name will also appear on the kiosk for the end user.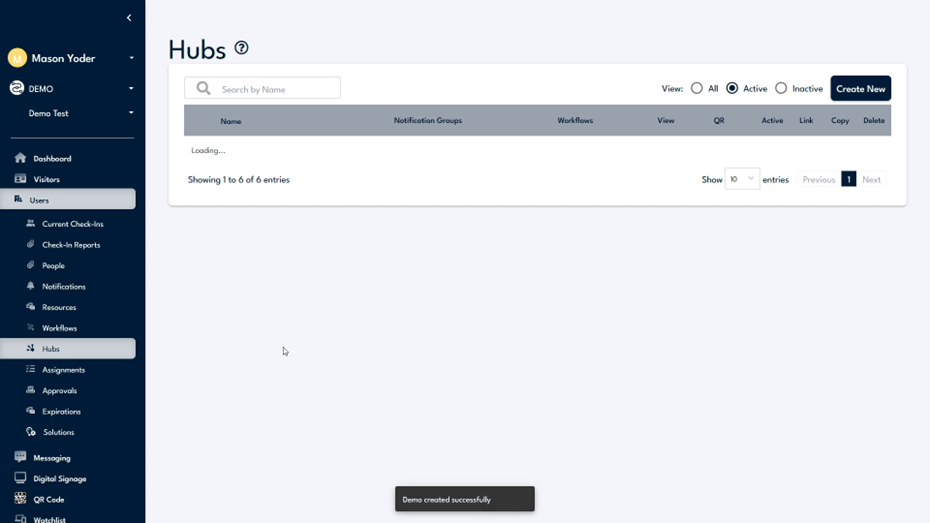
Step 3
Once the hub is created, it will be added to your list of active hubs. From this list, you have multiple options such as changing the hub's name or altering the notification groups assigned to it. For instance, for an onboarding hub, HR and IT could be included as notification groups.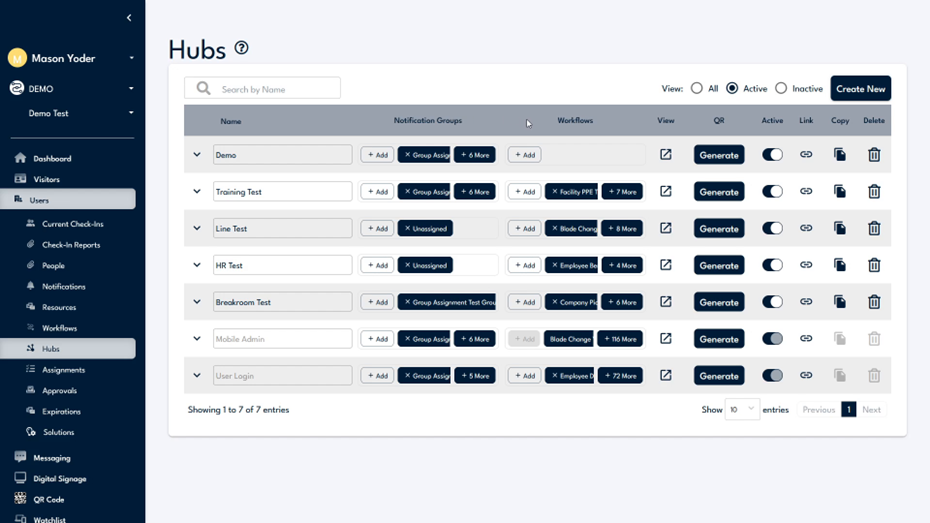
Step 4
Add workflows to the hub by using the 'Add' button under the 'Workflows' section. Select the workflows you want to include in the hub. You can also preview the hub by clicking the button in the 'View' category. The 'QR' category allows you to generate a QR code linked to this hub, which can be printed and displayed around your location for users to scan and access on their phones.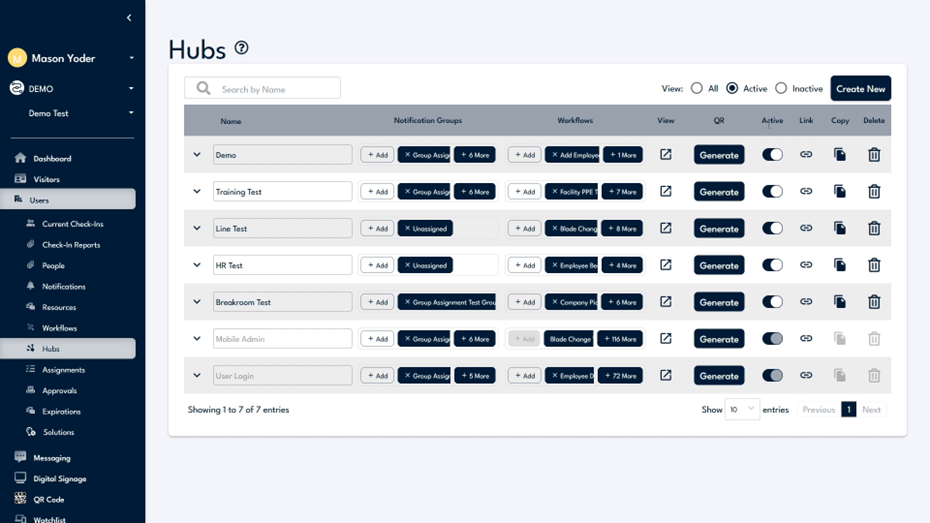
Step 5
You have the option to mark a hub as active or inactive. Deactivating a hub is a useful way to remove it from your list without deleting it. If a hub is marked as inactive, you will need to select the 'Inactive View' at the top to locate it again.
Step 6
To create a hyperlink for the hub, click the 'Link' button, which will copy the link to your clipboard for distribution. If you wish to duplicate the hub, select the 'Copy' button to copy all workflows, notification groups, resources, and settings. Access the hub's settings by clicking the arrow next to the hub's name, which will reveal two dropdown menus: 'Settings' and 'Theme.'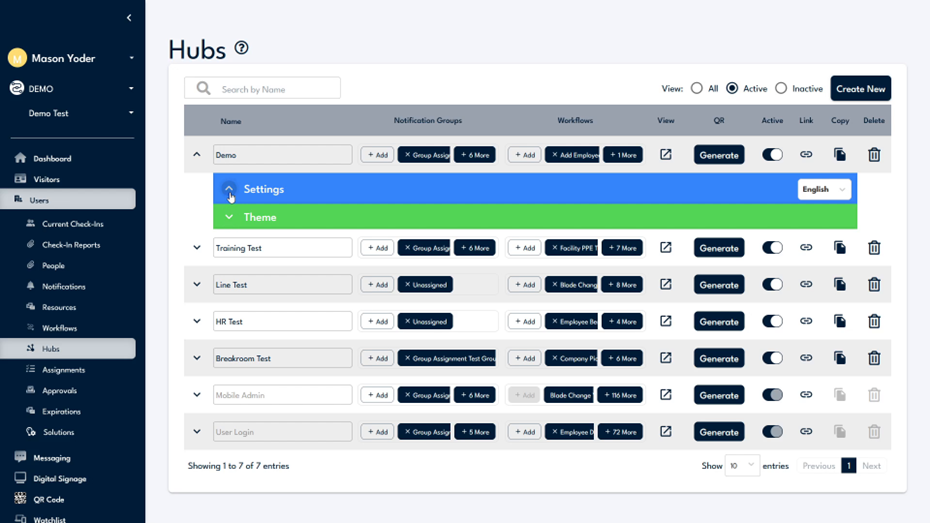
Step 7
Within 'Settings,' you can modify various options to configure your hub precisely as desired. Under 'Theme,' you can alter the background, logo, colors, text, and screensaver. If further assistance is required, please use the 'Support' button located at the bottom left of your screen.