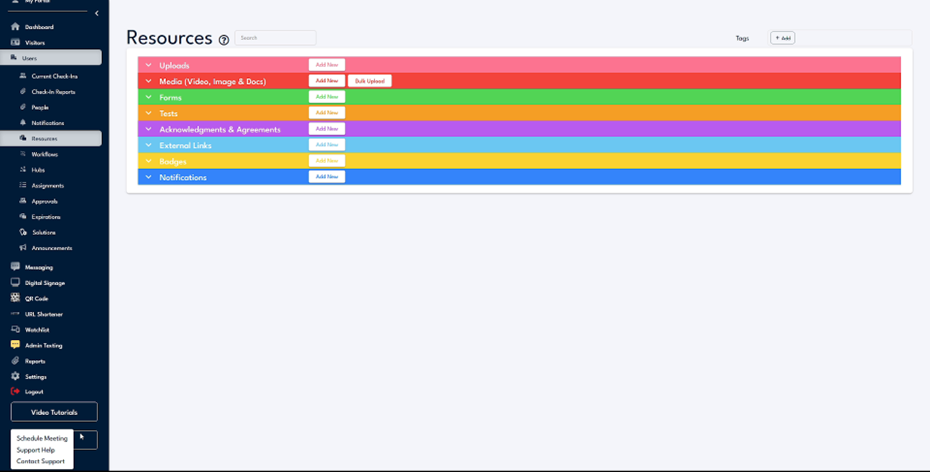
Step 1
Begin by navigating to the platform's PDF builder. To create a new form, select the option to add a PDF. Here, you have the option to edit, remove, or replace this PDF. Alternatively, you can add items to open the edit menu.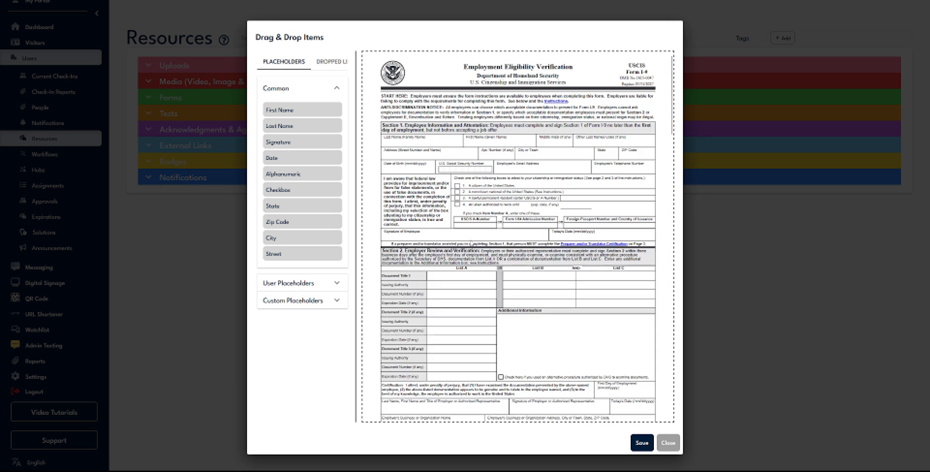
Step 2
In the edit menu, you will encounter several sections of placeholders. These include commonly used placeholders, user-specific placeholders based on the individual filling out the form, and custom placeholders.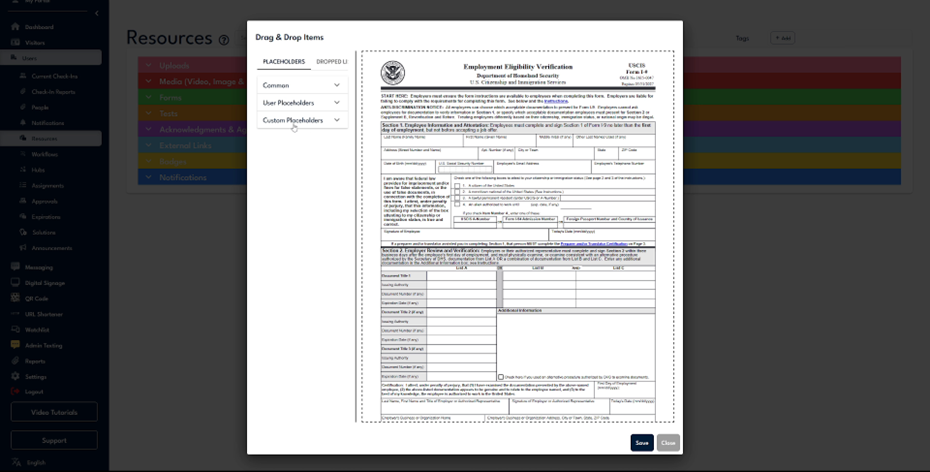
Step 3
For instance, if the form asks for the last name, navigate to user placeholders and select 'Last Name'. This ensures that the user's last name will be auto-filled if available in the system.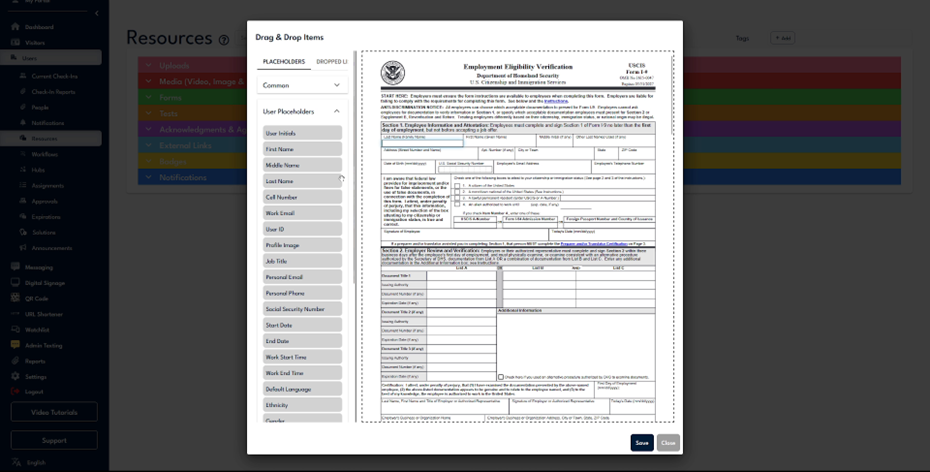
Step 4
When a question requests a middle initial, and no specific placeholder exists, use custom placeholders to insert an alphanumeric field, allowing users to input any text. Various other options are also available within custom placeholders.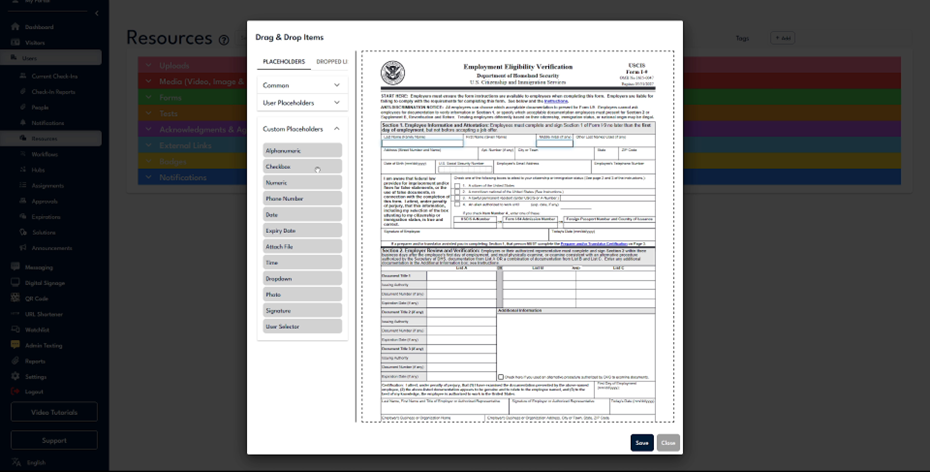
Step 5
You can create a checkbox for simple yes/no inputs, set a numeric field to accept only numerical entries with an interactable scroll, and configure phone numbers to toggle between different country codes.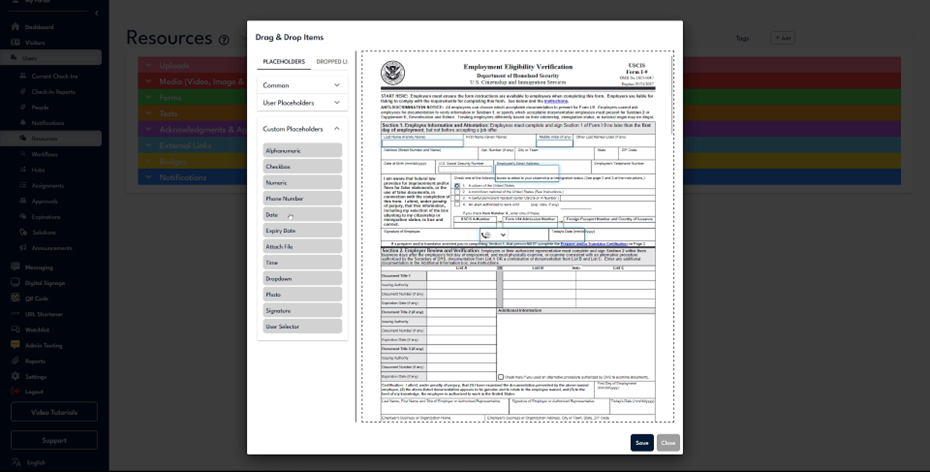
Step 6
Set fields for date and time, where you can modify settings to auto-fill and format them. This ensures the current date or time populates when a user accesses the form.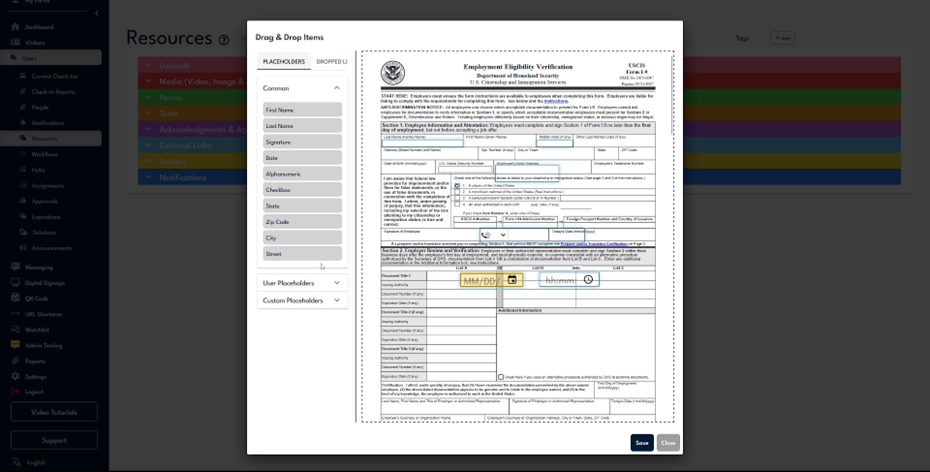
Step 7
Incorporate a dropdown menu to present multiple options from which the user can select. You can also add a signature collector to gather signatures.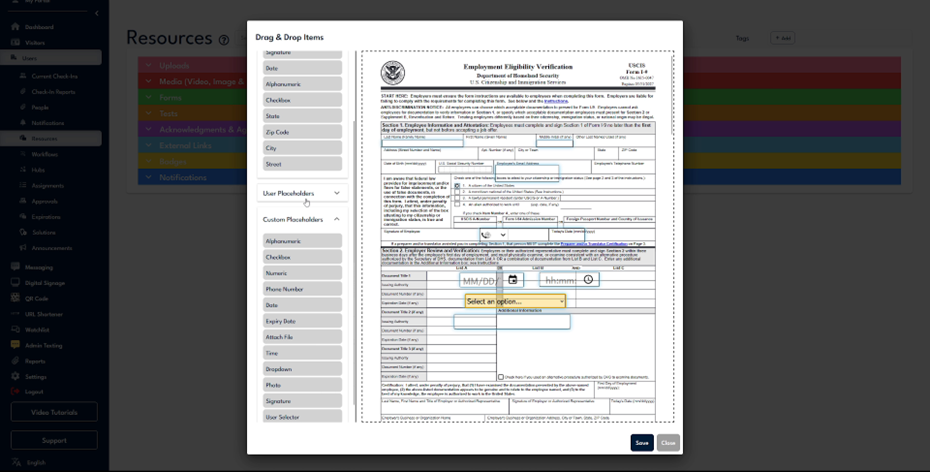
Step 8
Include an attach file button, enabling users to upload files. This feature is useful for forms like the I-9 that may require submission of acceptable documents.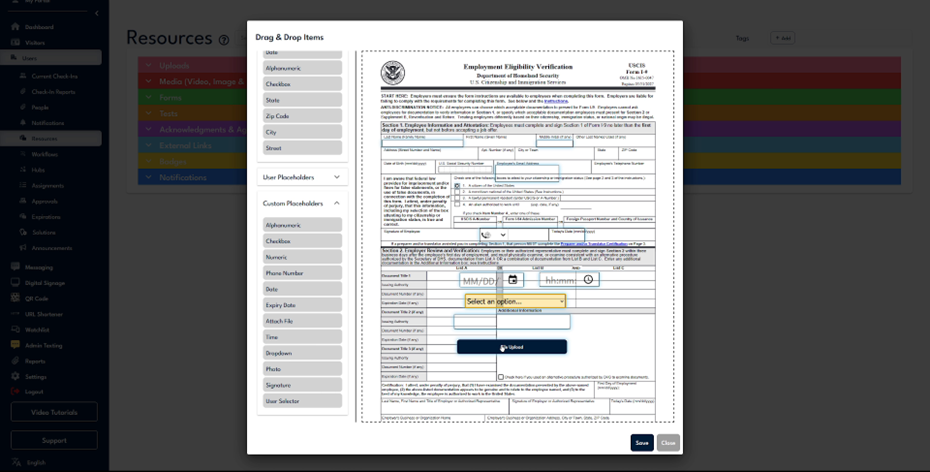
Step 9
Utilize a user selector for scenarios such as training sessions, allowing users to indicate attendance by selecting names from an organizational list.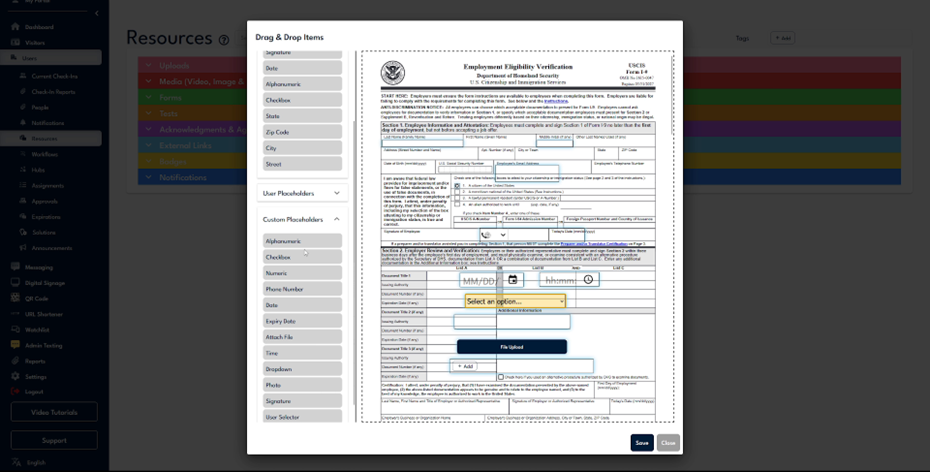
Step 10
Each field in the form is interactable. For instance, clicking on the middle initial field brings up a separate tab and toolbar for additional options.
Step 11
This separate tab offers a quick navigation menu. In the edit option, you can designate fields as required or optional and change their names as needed.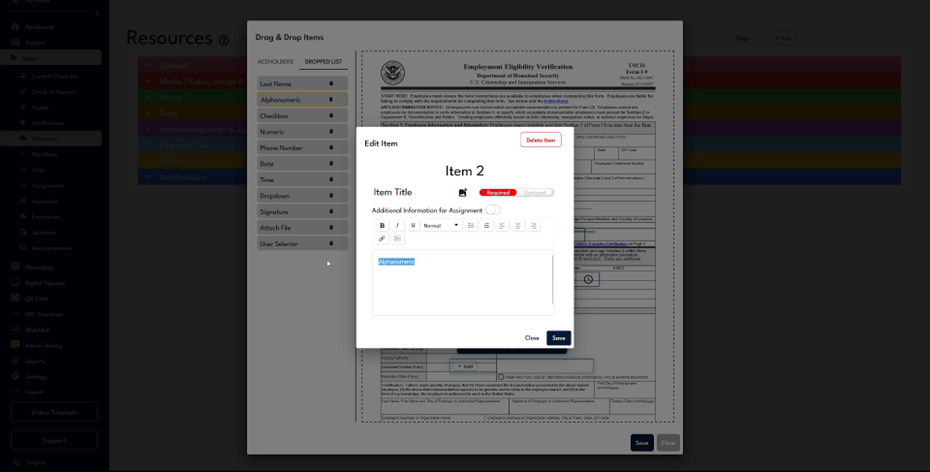
Step 12
Naming fields appropriately is crucial for report generation, as it links the question to the user's input in the generated report.
Step 13
The current naming setup will display 'Middle Initial' followed by the user's input. If left unchanged, it would default to 'Alphanumeric'. Accurate naming is also essential for establishing custom triggers based on form responses.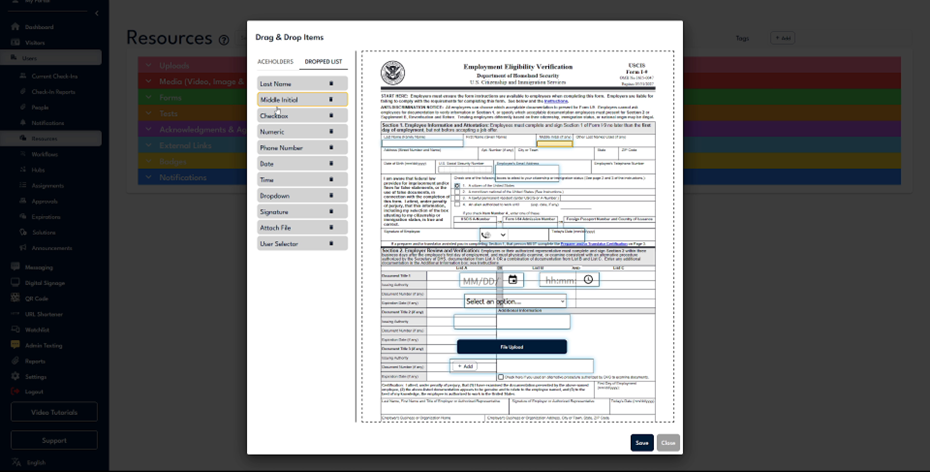
Step 14
Utilize the toolbar to quickly delete or duplicate fields. For example, duplicate checkboxes to avoid recreating them and manage their settings efficiently.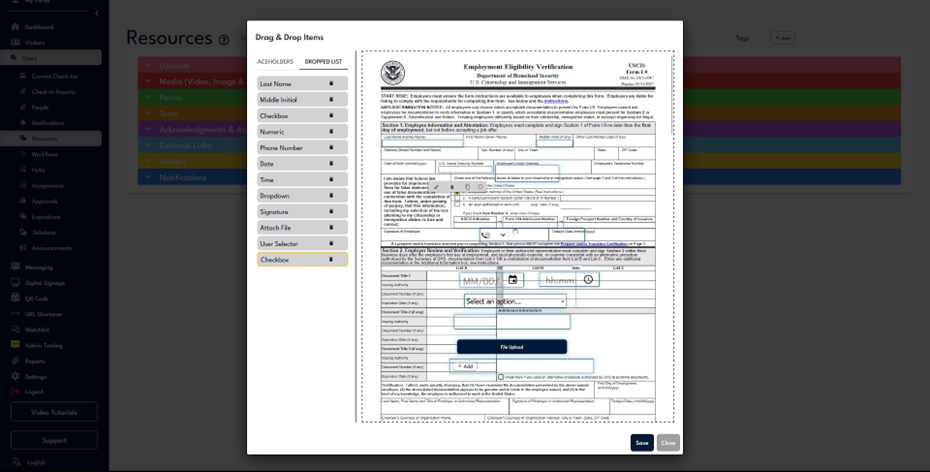
Step 15
The arrow keys on your keyboard allow precise field placement. Mark fields as required or optional; for instance, ensure checkboxes are optional if only one selection is needed.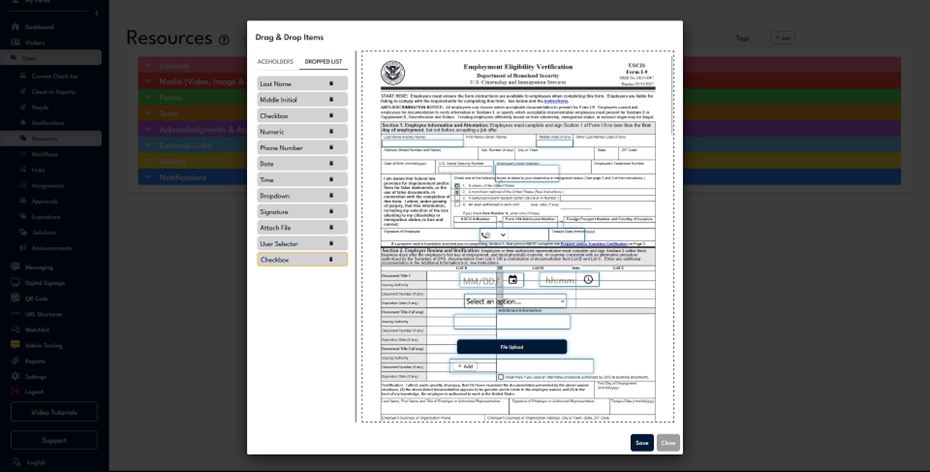
Step 16
Make fields optional to allow selection flexibility, essential for questions requiring a single response. This concludes the basics of using the PDF builder, which is a versatile tool offering numerous possibilities.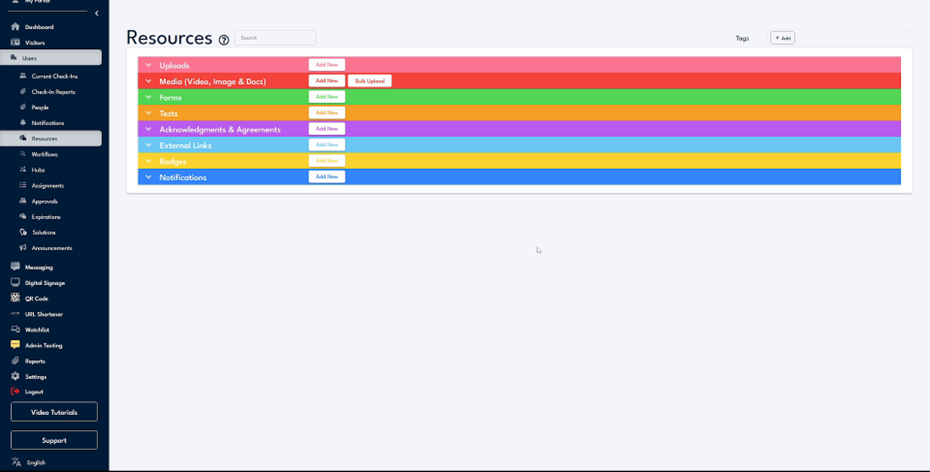
Step 17
If assistance is needed, contact support through the support button located at the bottom left of your screen.